Add Microsoft 365 Organization Account using Device Code Process
The Microsoft 365 Organization has to be added as a data source in the BDRCloud Server. This will establish a connection between the Microsoft 365 and the BDRCloud Server allowing users to perform cloud backup for Microsoft 365 using the BDRCloud Server console.
Navigate to the Data Source section under the SaaS Applications main tab. Click on “Add Microsoft 365 organization”. On the page that opens once again click on “Add Microsoft 365 organization.”

Step 1 : Add Method Selection
This step can be skipped when adding the Microsoft 365 Organization using the Device Code Process.
Azure Cloud Environment Selection
You can select the Azure Cloud environment that your Microsoft 365 account is located in. BDRCloud Server needs to access the Microsoft 365 APIs for backup and recovery from within the same cloud environment as your Microsoft 365 account. If your account was created in the global Azure environment, then the BDRSuite Backup Server will automatically use this environment by default. However, if your organization is using Azure (US Government GCC High & DOD) or Azure China , then you can choose the specific government cloud you are using.
Select a method to add M365 organization
This option lets you choose the method using which you want to add the Microsoft 365 organization. If your Microsoft 365 organization is using the global Azure environment in the above step then you can add the organization in all the three different methods listed on the UI. If your Microsoft 365 organization is using Azure government or Azure China then choose the specific government cloud you are using and you can do that only using the Device Code and Manual process.
Add Microsoft 365 Organization Account as a Data Source and Authorize BDRCloud for Access Using Device Code Process

Step 2: BDRCloud Server Authorization
BDRCloud Authorization (Only for Device Code process, if selected for adding Microsoft 365 organization)
A one-time authorization code is generated in the BDRCloud Server console for Microsoft to validate BDRCloud and thereby allowing access to the Microsoft 365 organization account.
Copy the One-Time Authorization Code for BDRCloud and click on the provided link below in the BDRCloud console, and it will take you to your Microsoft 365 accounts page.
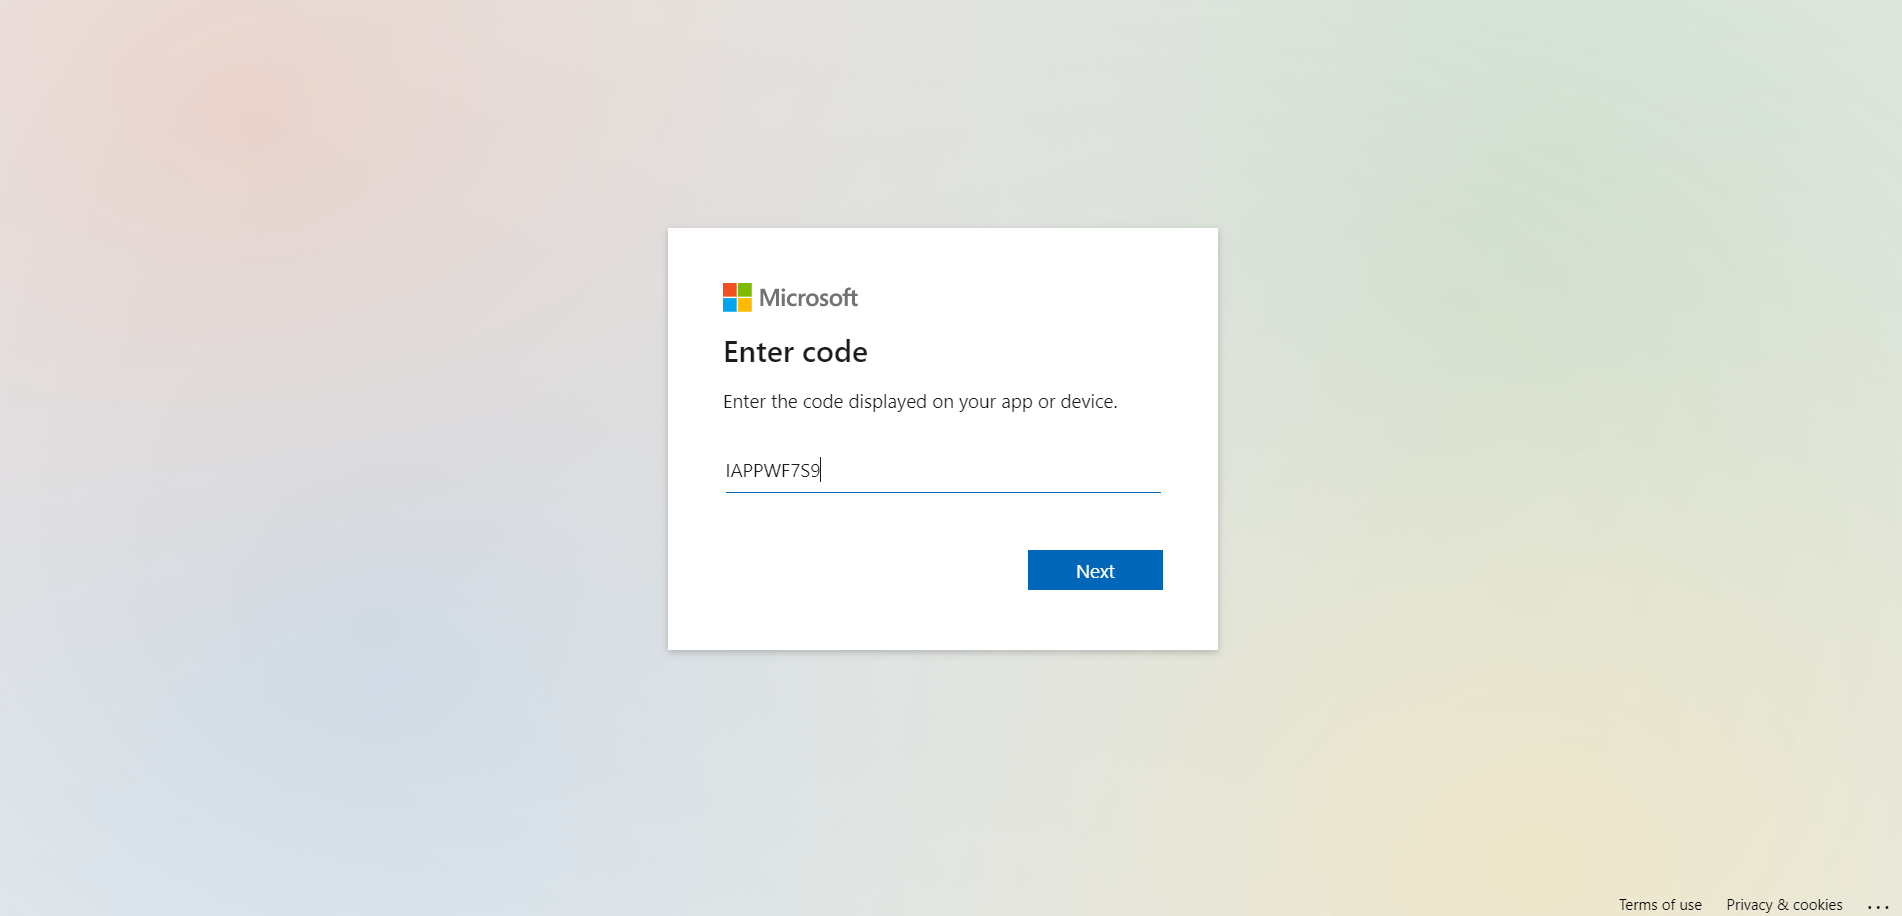
 Enter the copied One-Time Authorization Code for BDRSuite in the given space and click next, on the page which looks as the below image.
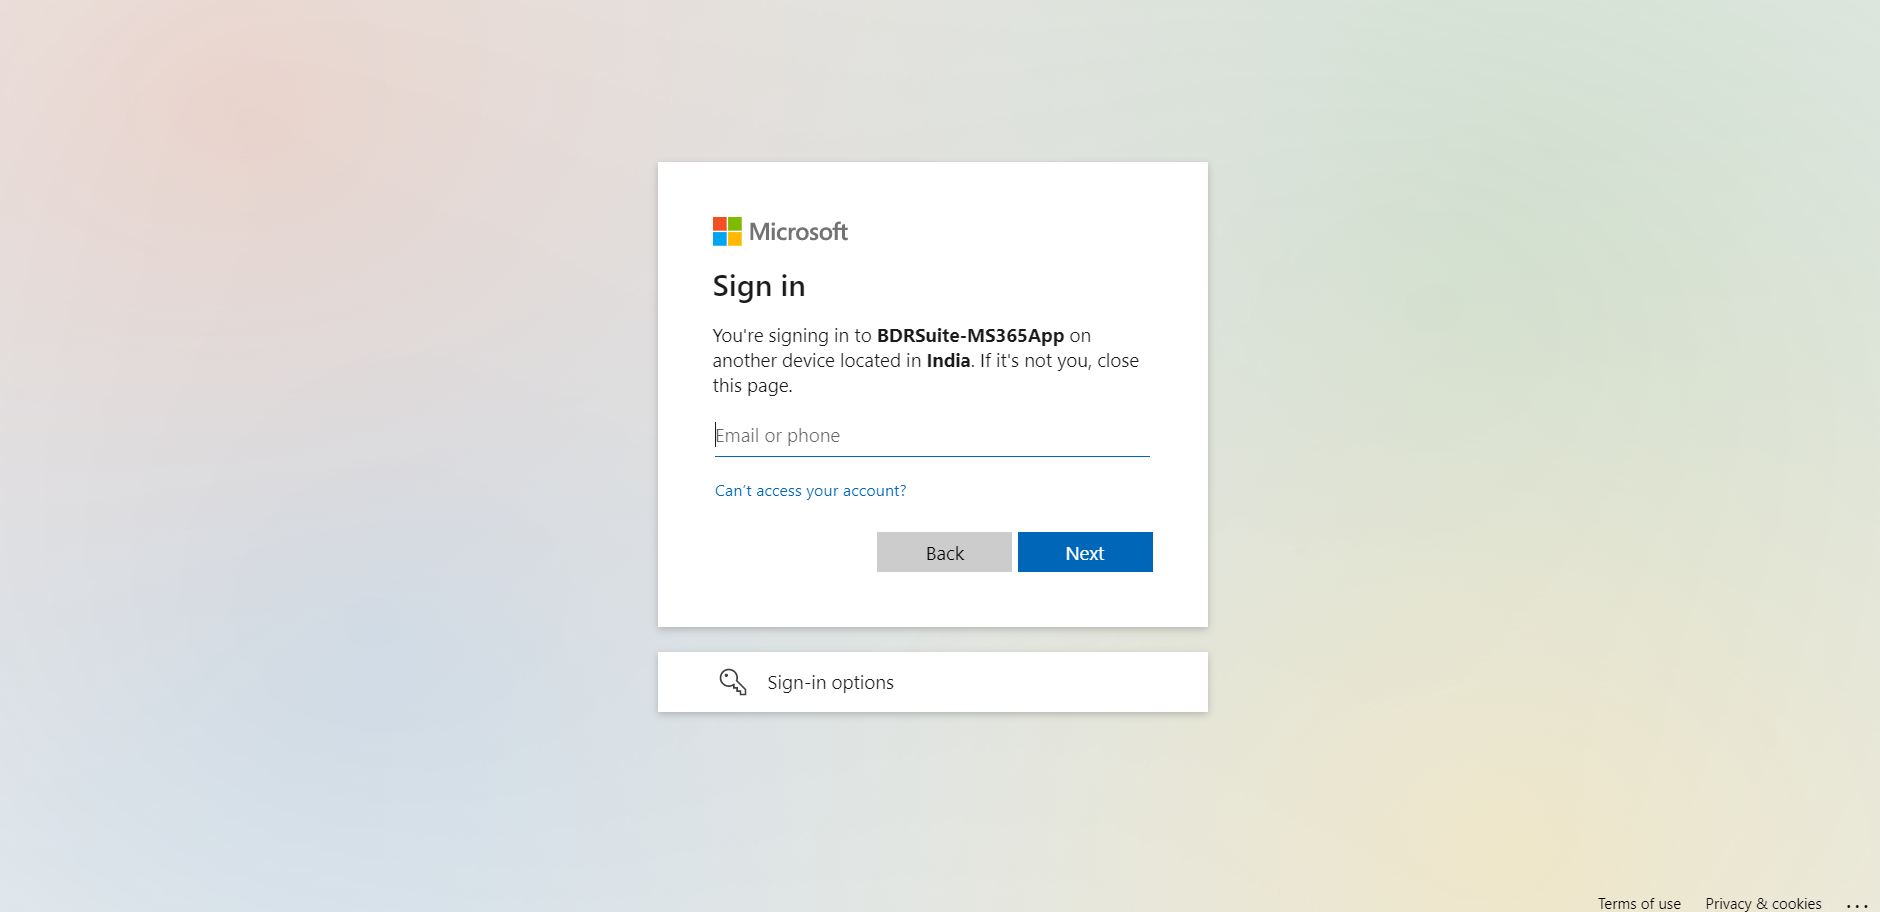
 You will be taken to the sign in page where you need to provide your Microsoft Admin Account credentials.
Note: This is mandatory to complete the authorization process.
Enter the Email or Phone and click Next.
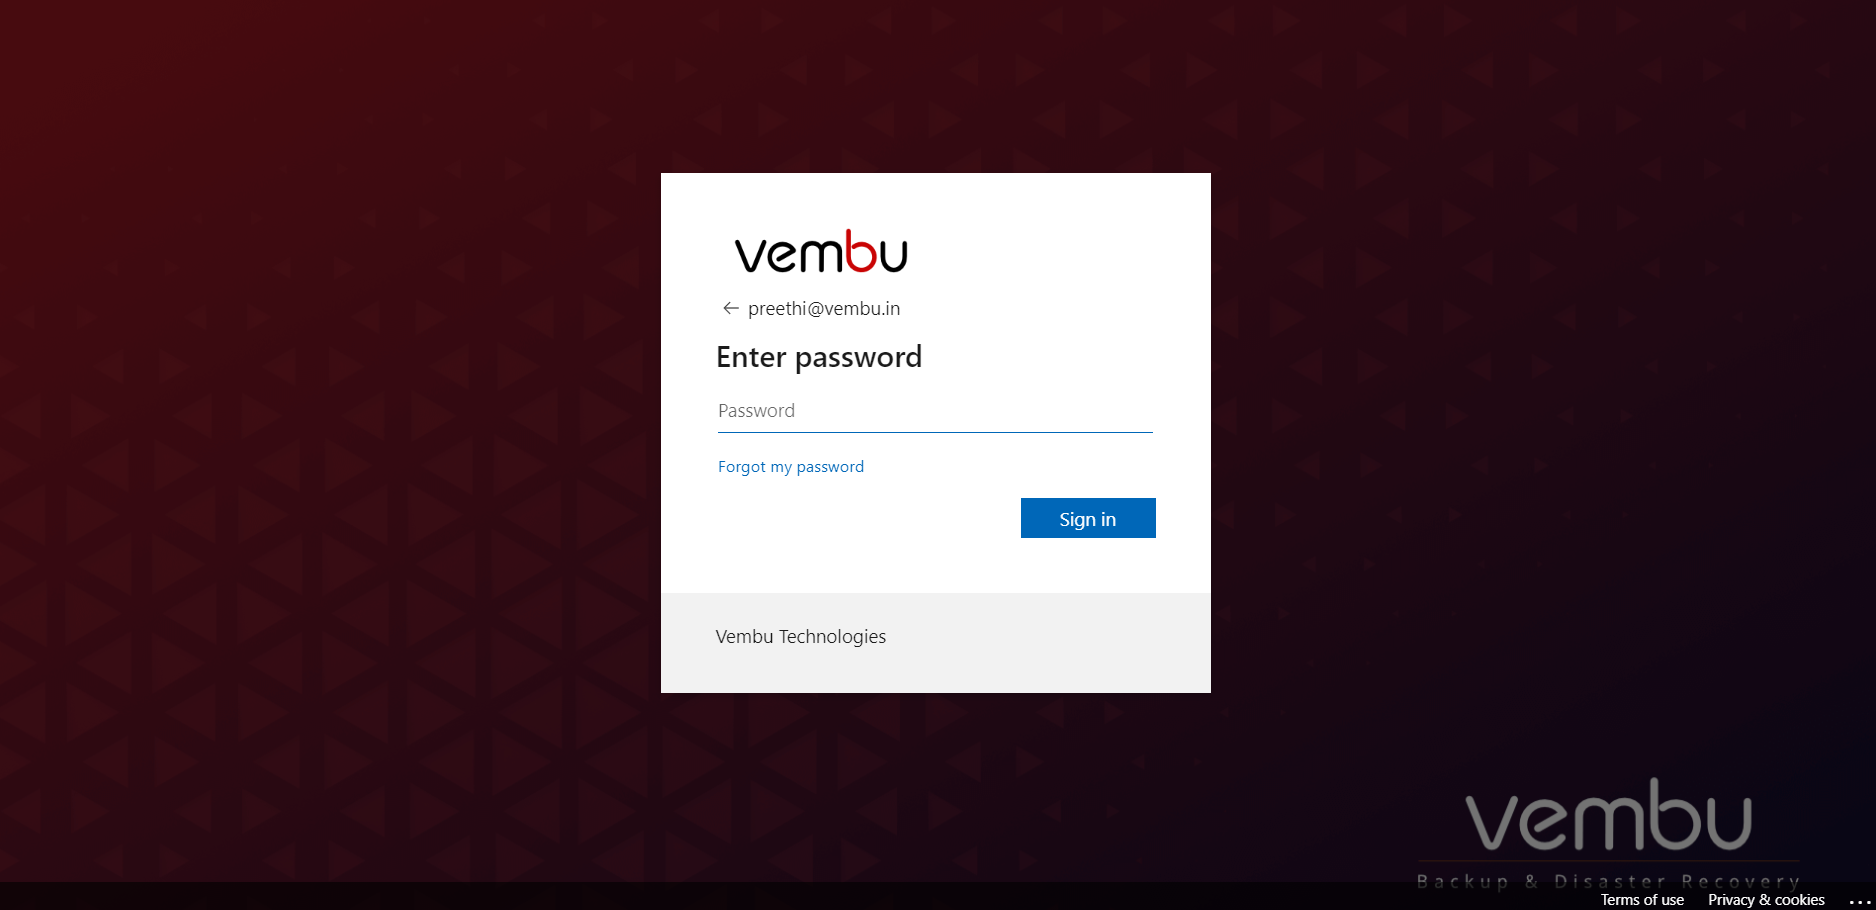
 Enter the password and click on Sign in.
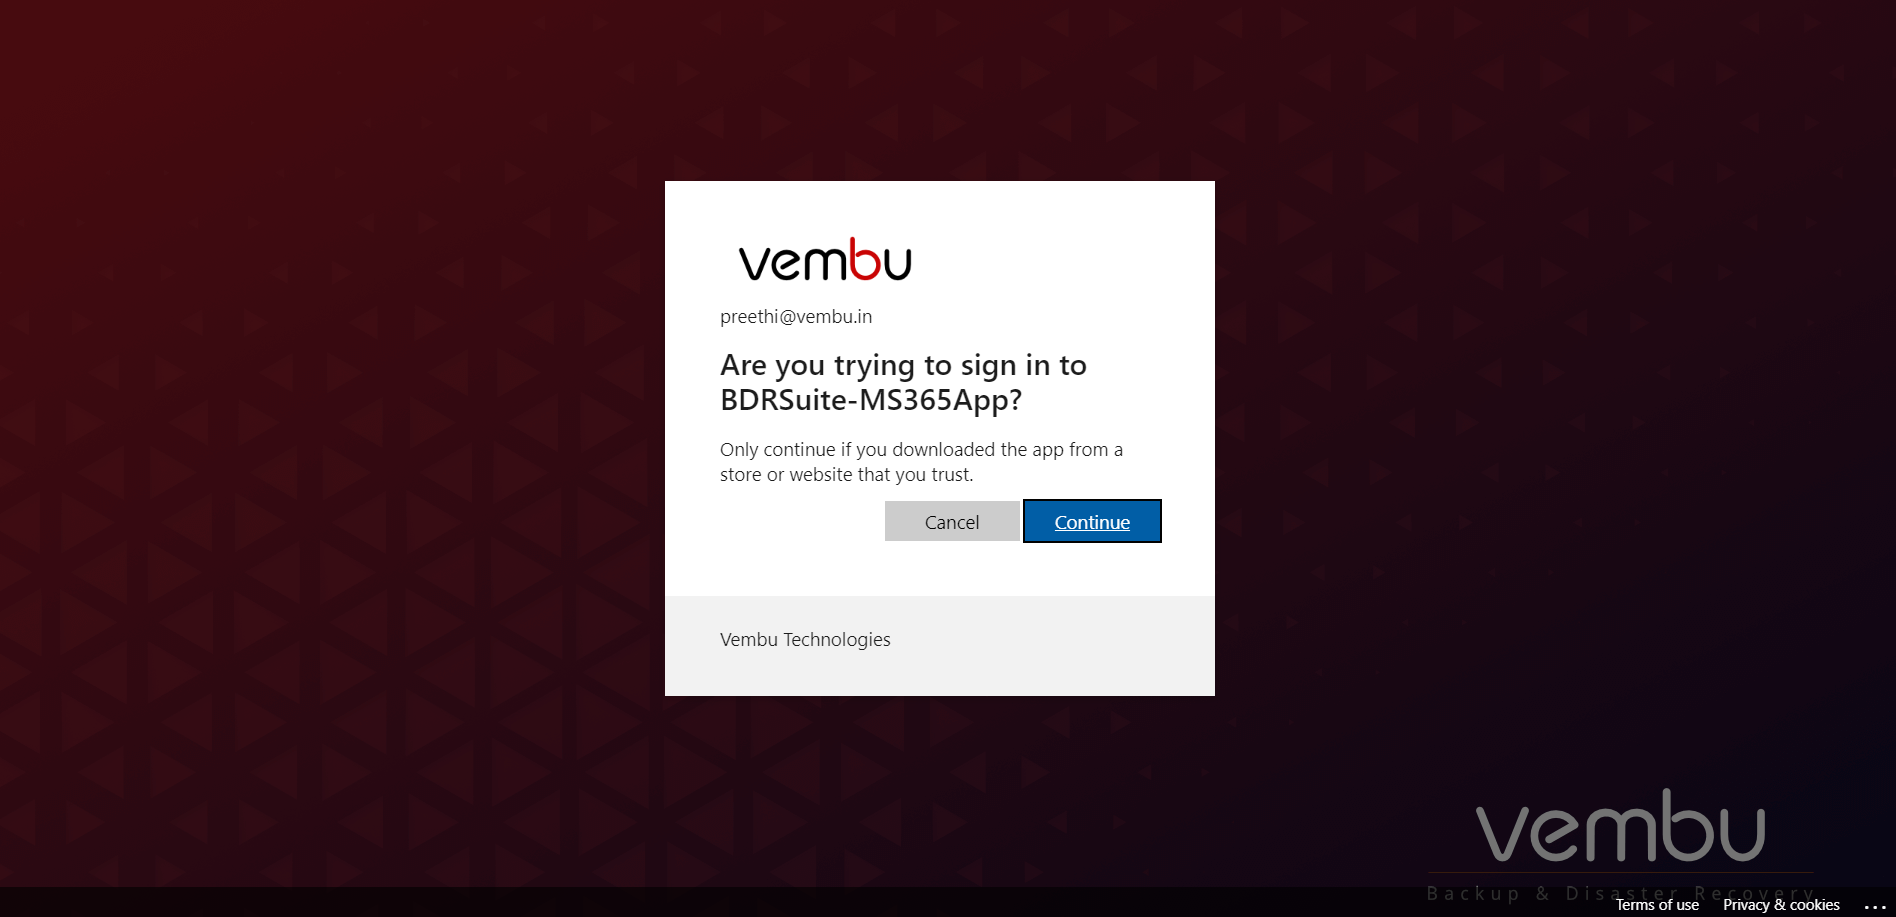
 Click on Continue.
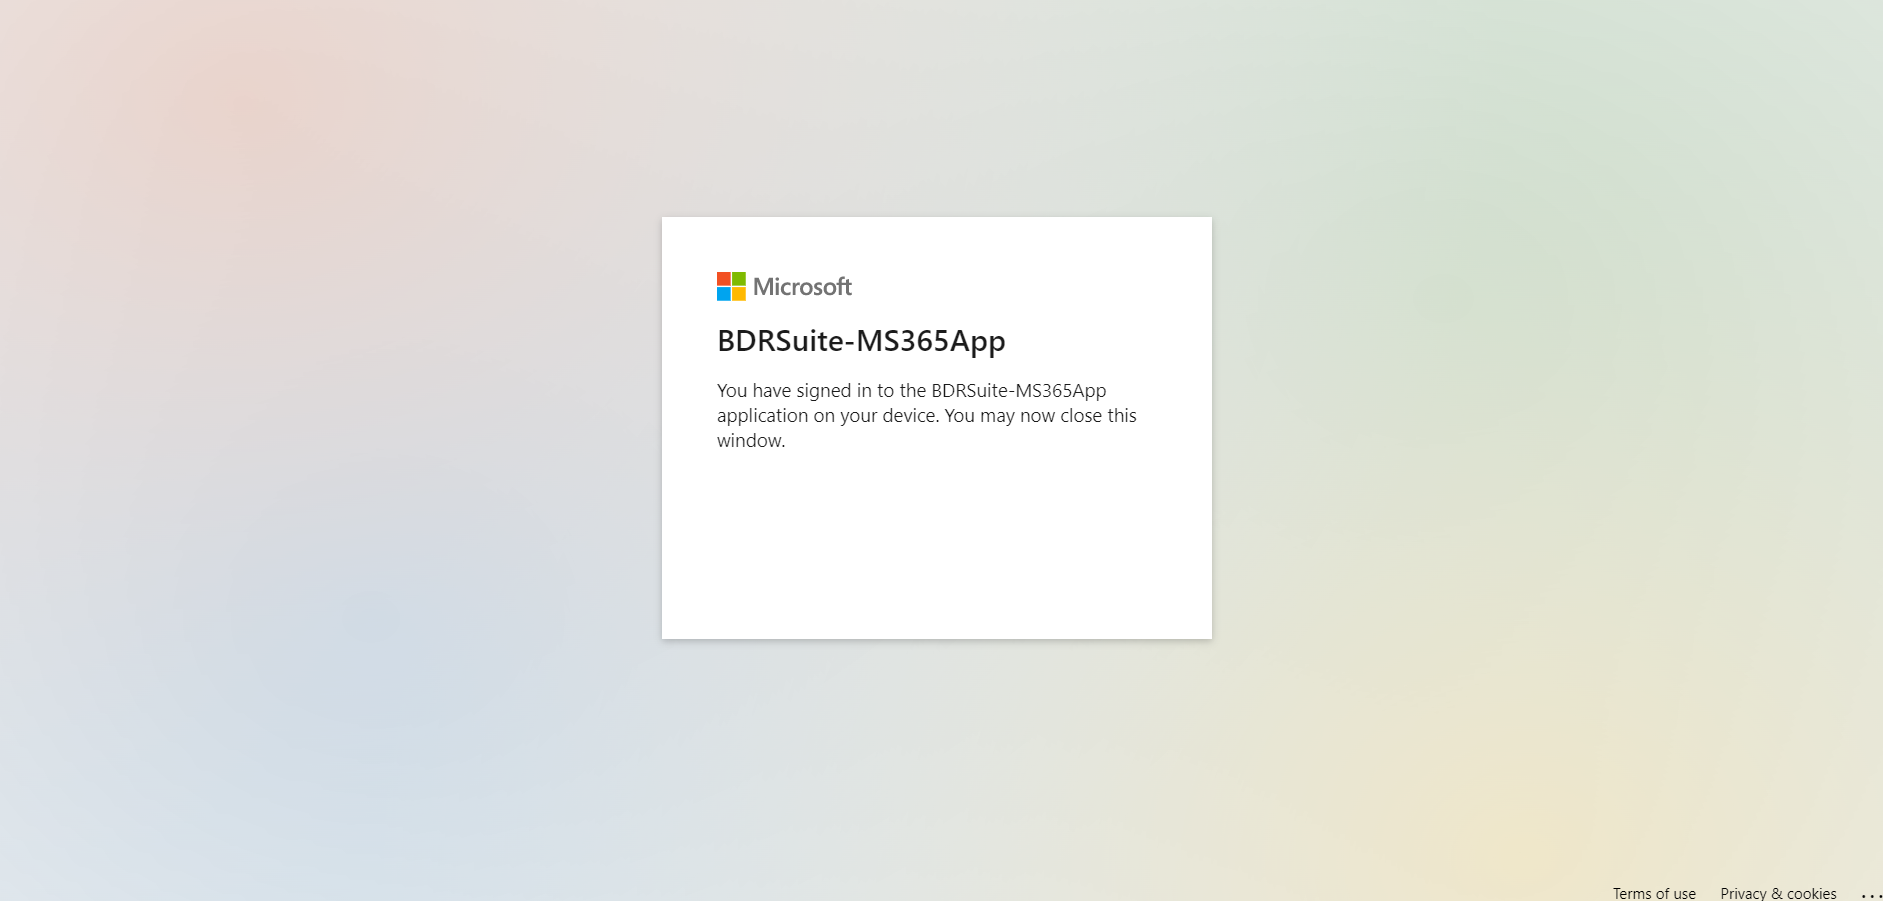
You will be notified with the following message – “You have signed in to the BDRCloud-M365App application on your device. You may now close this window.”
Come back to the BDRCloud Server’s BDRCloud Authorization page, check the box and confirm the following statement – I have completed the authorization process using the one-time authorization code.

The process to automatically add the Microsoft 365 organization to the BDRSuite Backup Server will be initiated. You will find all the entries mentioned in the step 3 will be automatically filled.

Step 3: Completion Steps
1. Organization Name
Enter a name using which you can identify the same.
2. Tenant ID
3. Application ID
4. Application Password or Application Certificate (SSL)
Application Password : You can choose this option to authenticate using the client secret password for the application. Enter the Application Password which is a Value, that you copied from your Azure portal.
Application Certificate (SSL) : In a scenario you do not want to share your application password then you can choose this option to authenticate using the client SSL Certificate for the application.
Choose the Application Certificate (SSL Certificate) option, then browse the corresponding PFX file (certificate) from the file explorer and after providing the certificate password ( enter the password you had provided at the time of certificate download ), you will be able to add the Microsoft 365 organization using the certificate.
Note: Make sure to import the SSL certificate only in the .pfx format.
5. Create multiple Applications for BDRSuite in Microsoft 365 Organization (Enabled by Default)
The Application ID that is created in the Azure portal and entered in the above steps will actually manage the write and read request permissions to and from the BDRSuite and the Microsoft 365 Organization. In simpler words, it is the authentication process done using the Application ID.
When a Microsoft 365 Organization is added the BDRSuite will only create one application by default in the Microsoft 365 which will be used for the previously mentioned Authentication process and the same application is used for the backup process as well creating throttle in the following scenario;
- A large number of requests across multiple third party applications being generated.
- A large number of requests from one particular application, BDRSuite in this case being generated.
Now, this option when enabled will let you create additional Applications(Currently 3).So, totally 4 Applications can be used to fetch the Microsoft Organization details and backup job user’s requests will be split among the 4 Applications, thus improving the overall backup performance.
You can click on the checkbox to enable this feature. If you want to enable this feature in an already configured Microsoft 365 Backup Job then you can click on the edit icon of the respective backup job in the List Jobs page. You can also disable it by navigating to the same edit icon and unchecking the box.

Note: In a scenario where this feature was enabled and then disabled for some reason and if the user wants to again enable this features then two options will be provided for doing the same.
- Use Existing Application.
- Recreate Multiple Applications.
Depending on the user requirement, any of the above option can be chosen.
After adding the required details you can click on save and the organization will be added in the BDRCloud Server and will be listed on the Add & Manage Microsoft 365 Organizations page. You can make changes to the added organization by clicking on the edit option and apart from editing the App ID and App Secret key, there is no password requirement to have the other details and changes updated.
